YouFibre & OpnSense Setup
This is a simple, easy-to-follow, step-by-step account of how I configured my OpnSense Firewall to work with YouFibre. Once you understand the process replacing the Eero router with OpnSense can be quick and straightforward getting you online in no time!


My relationship with YouFibre
I am a new YouFibre customer (at the point of writing) who had 3 days of back and forth to set up my account and work with my OpnSense firewall. So like all good people, I thought I would write a post to help those who come after me.
What my package included
I went for the “1Gbps package”, which to date, supplies around 990Mbps most days. Good times indeed! The installation included running fibre to my home where a modem was installed on the wall.

By default, YouFibre supplied a high-quality Eero Router packed with all the latest features. My experience with using the Eero is that “it just worked” for everything I would expect from a standard residential router. So if you don’t require business-grade stuff I’d recommend keeping it.
However, I am working from home and spinning up VM’s where I require DNS spoofing, running advanced firewall rulesets etc. which OpnSense is so well known for.
Pre-requirements for setting up OpnSense
There are a few things you will need to do first:
- Apply all account-related activities e.g. Adding your Static IP
So before you unplug your Eero router ensure that things like your Static IP have been applied and you have a working internet connection. You will be able to test this you the mobile phone app. - The MAC Address associated with the Eero Router
You will need this later to confirm that YouFibre are talking to your OpnSense interface and not the Eero router. - Get the MAC Address for your WAN interface from your OpnSense firewall
YouFibre modems operate a MAC Address filter so if your MAC is not associated with that modem no amount of setting changes will make a difference. It simply won’t work.
Configuring OpnSense
- Call YouFibre and ask to speak to Technical Support – You’ll find the number inside the Eero App under “Troubleshooting”
- Set your OpnSense WAN device to DHCP (You do not need an upstream gateway at this stage)
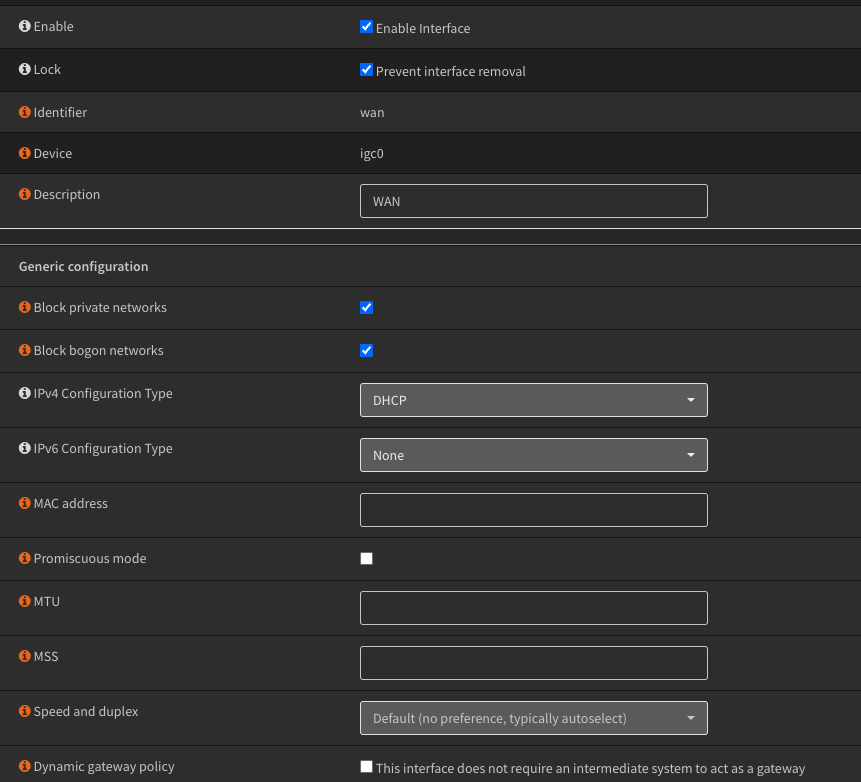
- Ask the Technical Support Engineer to update your MAC Address from your Eero router to your OpnSense WAN device
- Once this is done reboot your OpnSense server. When it restarts give it a good 60 seconds and you should have working internet… You can verify this by browsing to the Gateway page where auto-magically a new gateway device will appear.

And that’s it! Easy when you know the process… I hope this helped.
Hi Mark,
No I did not because the YouFibre Customer Services agent was unsure if this would work. Please let me know if this worked for you?
Aaron
Hi,
I’m sure you have been asked this a few times already, but did you try setting your Ola eero router Mac address onto your op sense wan interface?
Thanks
Mark